The Ultimate Authority Guide to Professional Wood Restoration
Restoring wood surfaces requires a blend of artistry, technical skill, and an understanding of the materials involved. It’s a discipline that goes beyond mere aesthetics, diving deep into the preservation of history and the promotion of sustainability. In this ultimate guide, we will explore professional wood restoration, including furniture refinishing techniques and eco-friendly wood care strategies.
Understanding Tannin Bleed and Its Solutions
When working with certain wood species, you may encounter an issue known as tannin bleed. Tannins are natural compounds found in wood that can seep to the surface, especially when the wood is sanded or when moisture is introduced. This can result in unsightly dark stains on the surface finish, particularly noticeable when using lighter colored stains or finishes.
Preventing Tannin Bleed
- Seal the Surface: Before applying any finish, it’s wise to seal the wood using a shellac sealant. Applying a coat of shellac can prevent the tannins from bleeding into your finish.
- Test Your Products: Always test your stains and finishes on a scrap piece of the same wood before proceeding with the entire project.
- Opt for VOC-Free Finishes: Many professionals prefer using eco-friendly, VOC-free finishes that not only promote a healthier workspace but also minimize chemical reactions that can exacerbate tannin bleed.
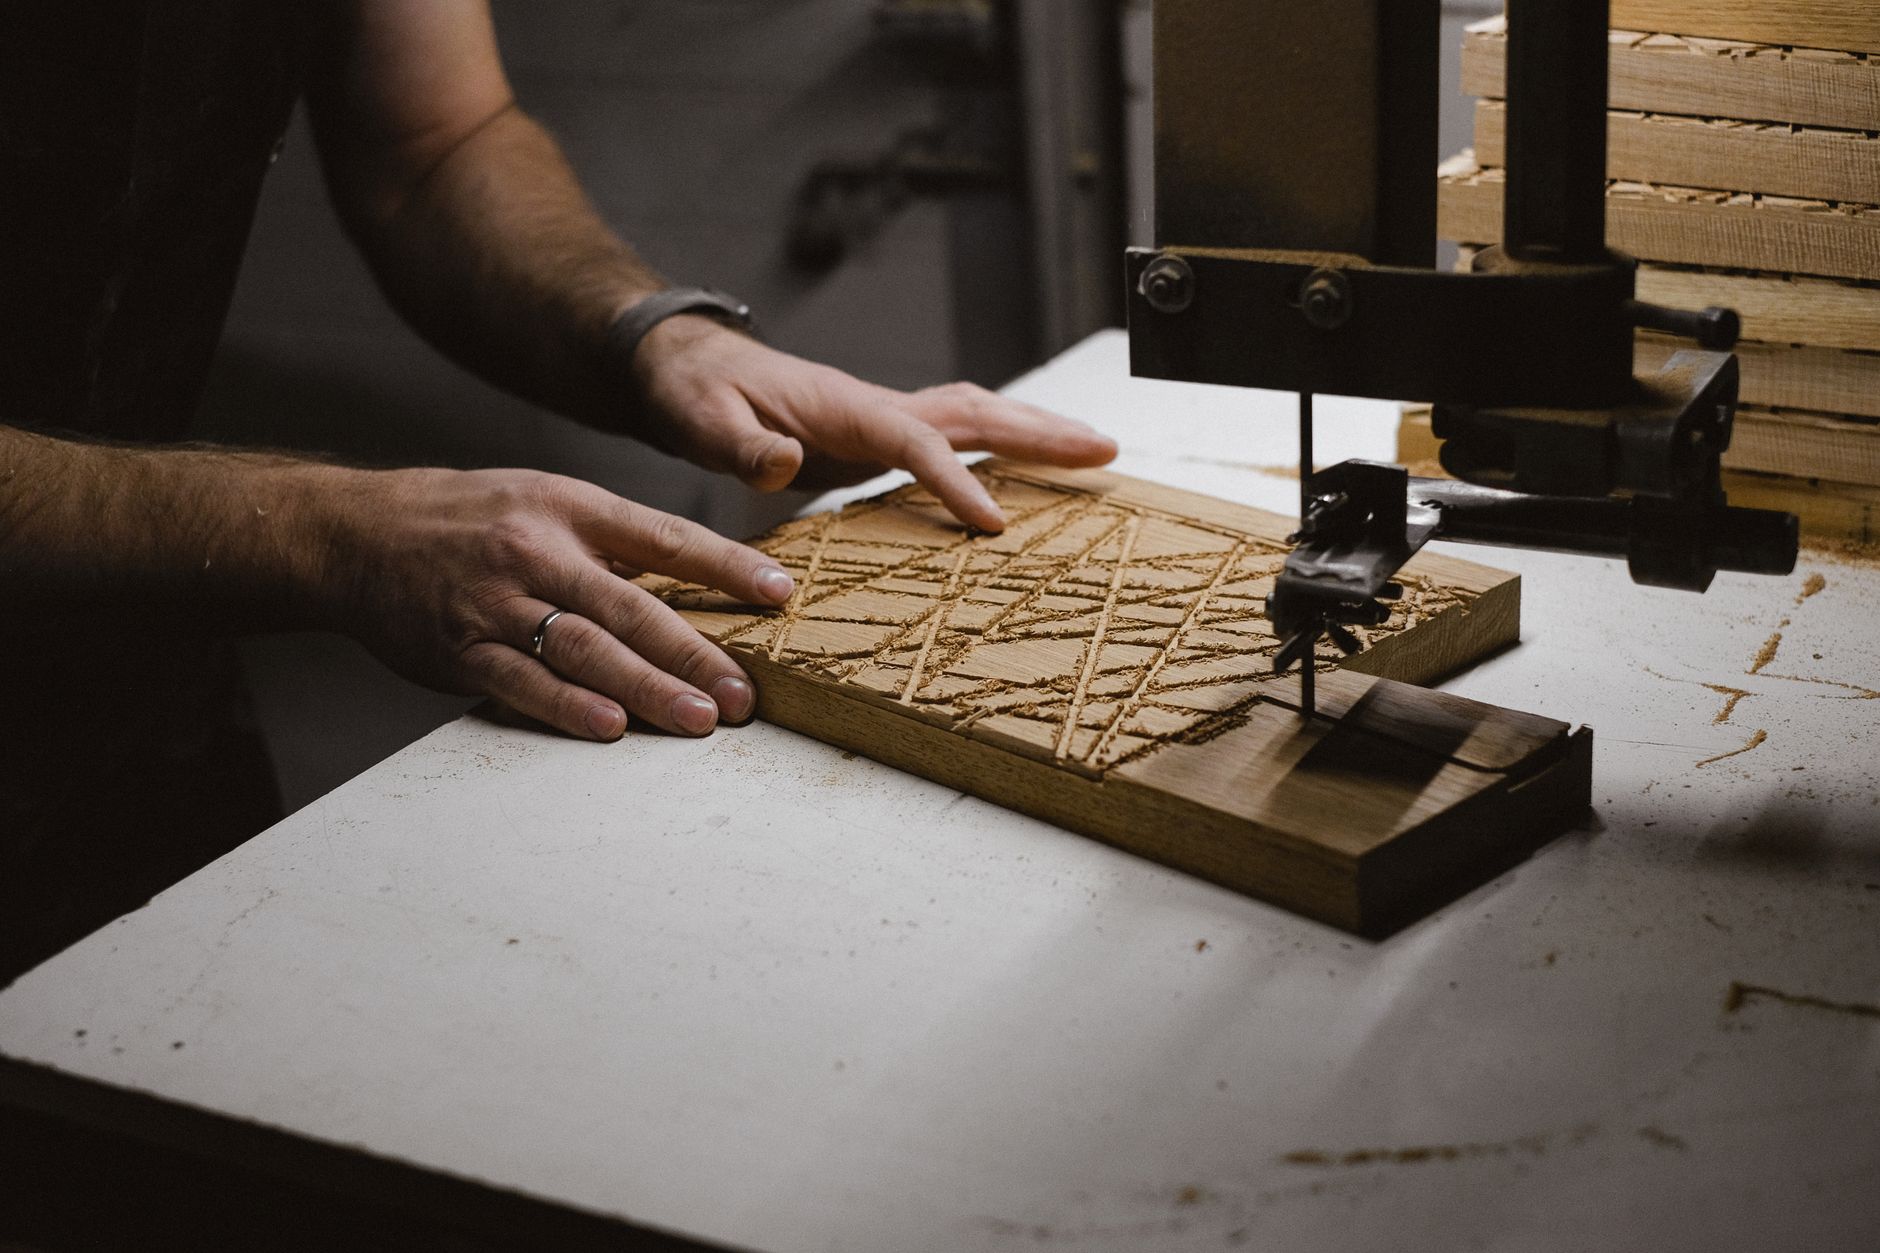
Grit Progression for a Flawless Finish
Achieving a perfect finish requires careful sanding. Understanding grit progression is crucial. Here’s how you should approach it:
- 80 Grit: Use this for the initial pass to remove old finishes and to shape the wood. It’s aggressive, so only apply it to the areas that need significant work.
- 120 Grit: Transitioning to 120 grit will help smooth out the surface and prepare it for finer finishes. It removes the scratches left by the 80 grit.
- 220 Grit: The final step involves using 220 grit sandpaper. This step is critical for achieving a silky-smooth surface ready for staining and finishing.
Sanding properly not only enhances the grain of the wood but also maximizes adhesion for the finishes that will be applied.
Choosing the Right Finish: Oil-based vs. Water-based Sealants
The choice of finish significantly impacts both the look and the longevity of your restoration project. Here’s a comparative analysis of oil-based and water-based sealants:
| Property | Oil-based Sealants | Water-based Sealants |
|---|---|---|
| Drying Time | Longer; can take hours to dry | Fast; usually dries within 1-2 hours |
| Durability | Highly durable; ideal for high-traffic areas | Less durable but appropriate for low traffic |
| Ease of Application | Requires cleanup with solvents | Soap and water cleanup |
| Color | Enhances warmth and depth of wood | Preserves original color; less ambering |
| Odor | Strong during application | Minimal odor and VOCs |
| Environmental Impact | Higher VOCs; less eco-friendly | Low VOC options available, eco-friendly |
Choosing the right sealant depends on the specific requirements of your project and environmental considerations.
Step-by-Step Process for Professional Wood Restoration
Restoring wood surfaces is a multi-step process that demands patience and precision. Here’s a comprehensive breakdown:
Step 1: Assessment and Preparation
- Evaluate the Condition: Examine the wood for damage, discoloration, and the type of finish present.
- Gather Materials: Collect appropriate sandpaper, sealants, brushes, and tools.
- Ensure a Clean Workspace: Dust and debris can mar the restoration process.
Step 2: Stripping the Old Finish
Use a chemical stripper or sanding to remove any existing finish. Be cautious of any hazardous chemicals and wear appropriate protective gear.
Step 3: Sanding
Start with 80 grit sandpaper; progress through 120 and finally to 220 grit to achieve a smooth surface.
Step 4: Sealing and Staining
Apply a shellac sealant to prevent tannin bleed if necessary. After sealing, apply your chosen stain or finish.
Step 5: Finishing Touches
For oil-based finishes, allow ample drying time before applying a second coat. Water-based finishes typically require a quicker turnaround. Once satisfied with the finish, buff to achieve desired sheen.
Step 6: Maintenance
Regular maintenance is paramount. Use a gentle cleaner designed for wood surfaces and reapply your finish as needed to protect and preserve the wood.

Woodreno’s Sustainable Artisan Outreach
At Woodreno, we are passionate about sustainability in wood restoration. We believe that sourcing materials responsibly strengthens our craft and uplifts local communities. That’s why we focus on collaborating with local suppliers that adhere to sustainable practices.
Partnering with these artisans not only promotes eco-friendliness but also supports local economies. We aim to have meaningful relationships with suppliers who harvest wood from responsibly managed forests, as certified by organizations like the FSC (Forest Stewardship Council). By investing in local artisans and eco-friendly practices, Woodreno is committed to preserving the art of woodworking for future generations.
FAQ: Troubleshooting Common Wood Restoration Issues
1. What should I do if my wood finish is cloudy?
If your wood finish appears cloudy, it’s often due to moisture trapped under the finish. Allow the piece to dry completely, then lightly sand with a fine grit (220) and reapply a thin coat of your finish.
2. Why is my stain blotchy?
Blotchy staining can result from uneven wood absorption. Always pre-treat woods like pine or birch with a wood conditioner before staining to ensure an even absorption.
3. What if my finish is peeling?
Peeling usually occurs because the surface wasn’t adequately prepared. Strip the existing finish, sand well, and ensure the surface is clean and dry before reapplying the finish.
4. How can I avoid brush marks in my finish?
To avoid brush marks, use an HVLP (High Volume Low Pressure) spray system for a smoother application. If brushing, use a high-quality brush and apply thin coats.
5. What can I do about furniture scratches?
Light scratches can often be hidden with a mix of walnut oil and vinegar. For deeper scratches, sand the area lightly and reapply finish to blend with the surrounding area.
Conclusion
Professional wood restoration is an intricate craft blending technical skill with artistic expression. By understanding the challenges—like tannin bleed and grit progression—you can achieve stunning results. Additionally, choosing the right finishes, such as oil-based or eco-friendly water-based sealants, also enhances your projects’ longevity and eco-friendliness.
Armed with the knowledge in this ultimate guide, you can tackle wood restoration projects with confidence, care, and creativity. Remember, each piece of wood has its story; your job is to ensure that story continues with elegance and sustainability.
For more detailed technical resources, check out Fine Woodworking and consider visiting FSC.org to learn about sustainable forest management practices.